Uploading Photos
Inserting a Photo or Image
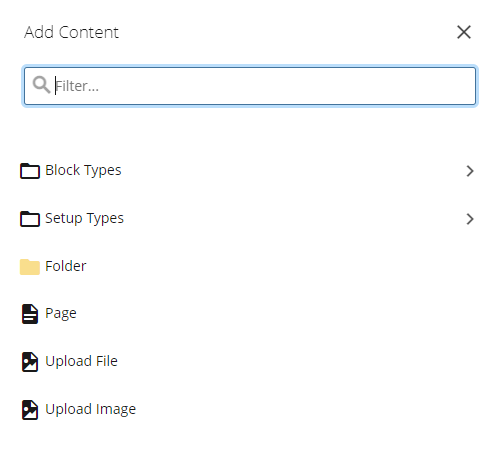
- Upload your image by clicking Add Content.
- In the side bar select Upload Image.
- In the Upload Image window, click the option to choose a file from your computer and select the image you'd like to upload. Once your image has been chosen your file name box will update.
- Check your placement folder for the correct destination.
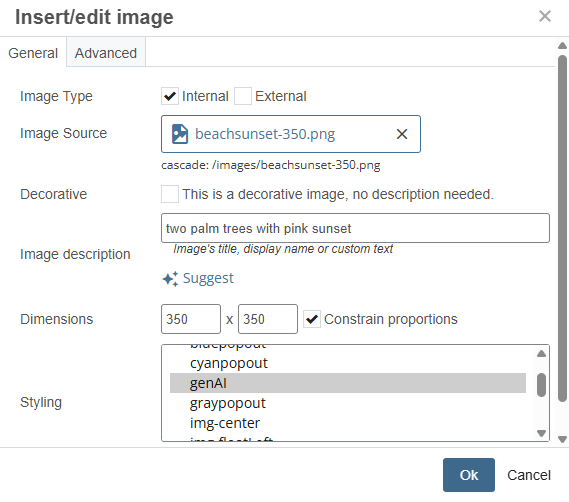
- Describe the image you've chosen within the image Title box. All images need a Title (alt tag) to be ADA compliant.
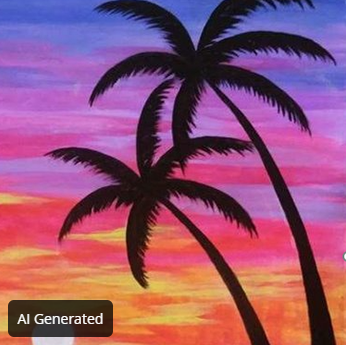
- NEW ADDITION: If your image is AI Generated, there is a checkbox you can click and mark it with the appropriate tag. An overlay text box will sit on the image and display "AI Generated".

Example:
- Click on the three dots in the top right corner and submit your image.
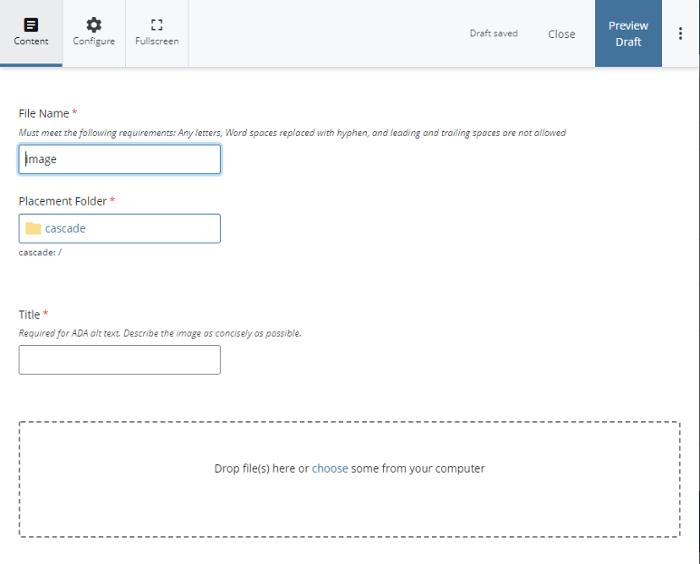
- Publish your image.
- After returning to the page you want to insert the image into, click Insert > Image or click on the little picture of the mountains within the editing toolbar.

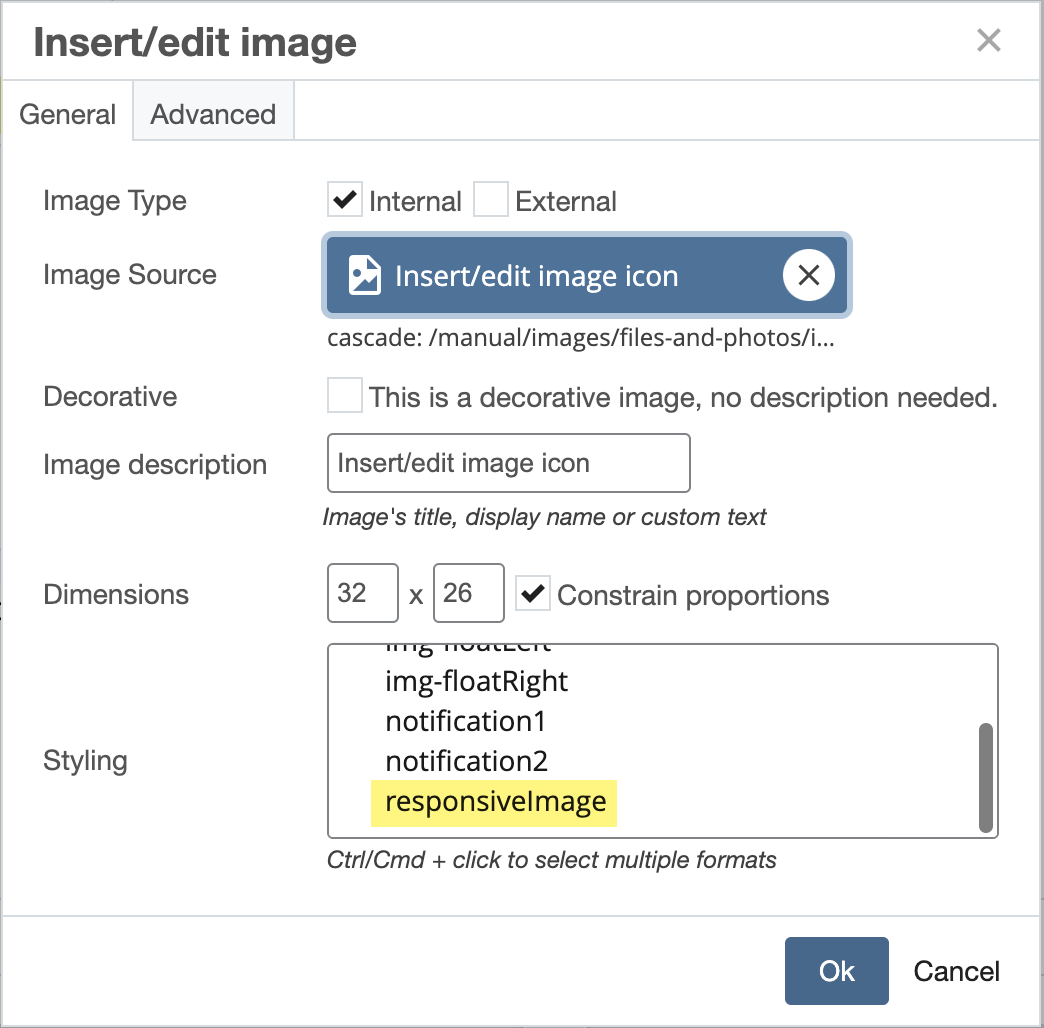
- A small window will appear with a 2 tabbed menu. Choose the General tab.
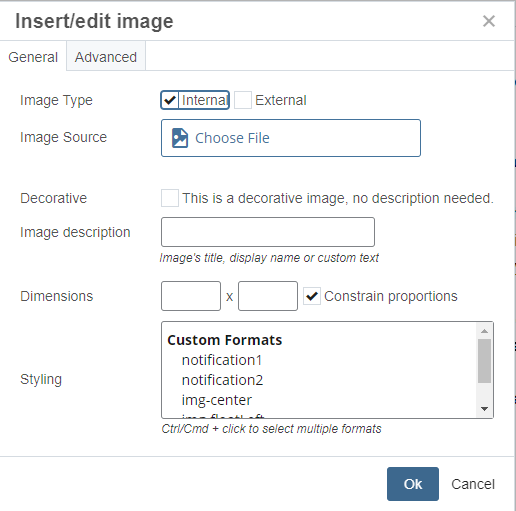
- Click Internal. An image that exists with UNF's image bank already is an internal image.
- Click Choose File within the Image Source field to find the image you'd like to use.
- A new window will appear to the right of the screen that generates files from which to choose. If you do not see the file you'd like to choose under Recent, click on Browse and find the folder by scrolling down that menu. You may need to look inside a folder to find your image.
- Once you have selected the image you'd like to use, click Choose at the upper right hand part of the window.
- Decorative images not conveying any meaning can be inserted by clicking on the "Decorative" box.
Both images and other documents are added to Cascade the same way.
 |
Images and files can either be added individually or by selecting multiple items (bulk uploading). If you bulk upload your images, please go back and add in the Title section a description of the image. Submit and Publish again. You will also need to update the photo on all your web pages. All images need a Title (alt tag) to be ADA compliant. |
Cascade will not resize images for you, you should resize your images with a photo editor prior to uploading. If you need assistance with Photoshop or a recommendation on a free photo editor, please contact Web and Digital.