Skip to Main Content
Cascade CMS
twoColumn twoRight handbook

Advanced - Table Features

Comparison List Builder

A comparison list is a feature that allow you to easily compare items within a list. If you have multiple programs, events, activities or any other listable elements that users may want to compare, this feature may be perfect for you.
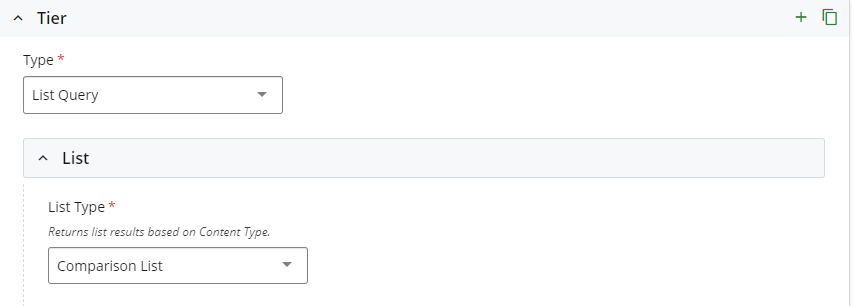
  • You can use this featureGoog in two places, either by building a List Page or by selecting the List Query option in an Advanced Layout page. In both of these options you then will select the Comparison List option from the List Type dropdown.Cascade Tier group with type dropdown selected to List Query showing List Type select box with Comparison List chosen
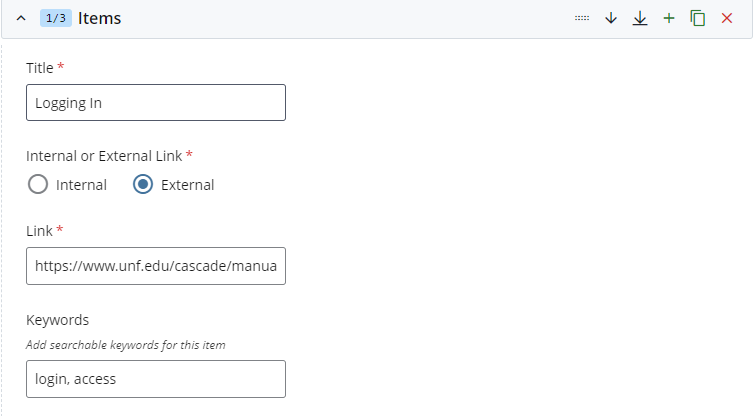
  • After selecting Comparison List, you will see groups titled List Items, you can then create as many List Items as you need.2 of 4 List items cascade group with green add new group button highlighted
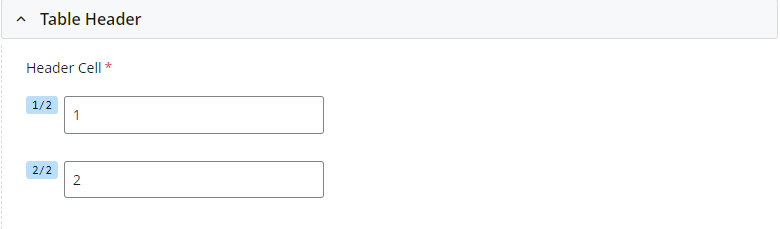
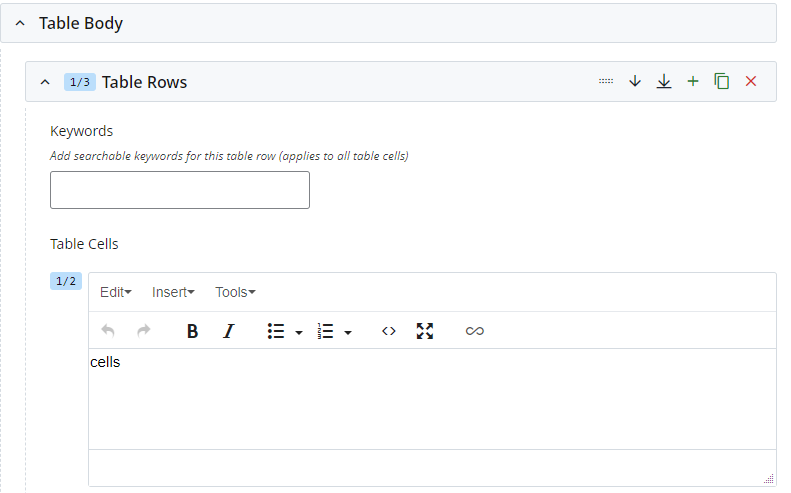
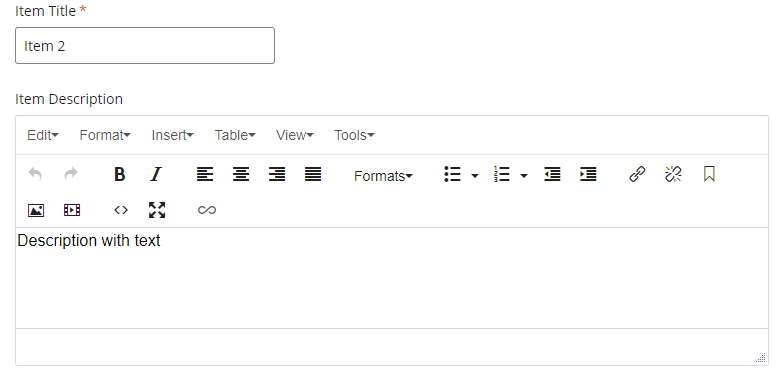
  • Within each List Item, you will see a textbox for an Item Title and an Item Description WYSIWYG that you can fill out with your items name and any information you want the user to read.Comparison list fields for Item Title and Item Description filled with Item 2 and Description with text
  • After building out all of the List Items needed, the system will automatically duplicate it and build the comparison functionality for you.Comparison list with blocks showing Item 1 on the left and Item 2 on the right, items have text of Description with text

Searchable List Builder

Searchable lists are a way of organizing resource content in an easy to digest format for users. The Cascade Manual homepage uses the list builder function.

List builder showing Intro to Cascade with three items and Folder Setup with one group and search functionality

  • After choosing the List Builder tier option select the type for Searchable List Builder.List Type selector with Searchable List Builder chosen Returns list results based on Content Type
  • Determine whether or not you need descriptions on each list item and select the Add Descriptions? checkbox if needed (an example of this type of builder can be found on Research's Technology Available for Licensing page).Add Descriptions? checkbox within cascade instructions on how to use below
  • You'll see underneath the check box for Add Descriptions? a group titled List Groups with a text box called Grouping Category.
    • Fill out the text box as this will function as the headline and search filter for each item underneath it.List Groups section in cascade with grouping category of Intro to Cascade
  • In the List Groups group you will see an Items group, this is where you will build each list item out.
    • Give your list item a Title.
    • Select whether you want your link to be Internal or External via the radio buttons.
      • If the link is Internal select the page from the page chooser titled Link.
        • The internal link will pull metadata from the linked page for search filtering. The metadata keywords will be pulled in for searchability and the metadata description will be used for the description field if Add Descriptions? is selected (for information on how to use the metadata field visit the metadata section of the manual).Internal Metadata from a page with keywords of add internal keywords and description of add internal description
      • If the link is External type the url of the link into the Link text box.
        • The Keywords field will be brought in for searchability and will also populate the descriptions section of the list item if Add Descriptions? is selected.
    Items group in cascade with Title Logging In and External Link selected keywords of login, access
  • Next build more items by selecting the Green + Button on the Items group.
  • To build more groups scroll back up to the List Groups group and click the Green + Button.

Table Builder

The Table Builder makes tables easier to create. There are two options: a table with a search feature and a plain table. An example of a completed, searchable table builder can be found on the table builder section of the advanced layout page.

  • After selecting Table Builder from the type dropdown menu in your tier you will see the Make the Table(s) Searchable radio buttons appear as well as a group called Tables.
    • Choose whether or not you want your table(s) to be searchable.Screenshot of the Make the Table(s) Searchable? field with Yes seleceted
    • Create as many Tables groups as you will need tables on the page.
  • In each Tables group you will have the option to add a Table Headline which will give the table a h2 level heading above it (if you leave this blank an automatic header of the table number will appear on searchable tables, on non-searchable tables no header will appear).screenshot of Tables group with the Table Headline field visible
  • Within the Tables group underneath the Table Headline you will see a Table Header group with 2 Header Cell fields. Fill out your Header Cells.screenshot of Table Header group in cascade with 2 Header Cell fields visible
    • When editing your Header Cells, if you hover over the text field a green Add New Field button will appear allowing you to add each header you will need (up to 8).Cascade Header Cell Add new field button hovered over in editor
  • Once you have finished creating your Header Cells, scroll down to the Table Body group and within it you will see a Table Rows group with a Table Cells WYSIWYG field (if you have chosen to make your tables searchable you will also have a Keywords text box for each row).screenshot of Table Body and Table Rows group in Cascade, visible Keywords and Table Cells fields
  • For each Header Cell field you created, add 1 Table Cells field using the green Add New Field button that appears when hovering over the already visible Table Cells WYSIWYG fields.
  • Fill out each Table Cells WYSIWYG field with the content you want in each table cell, these will appear underneath the Table Headers from above based on the order you place text in the fields.
    • To leave a cell empty leave the corresponding Table Cells WYSIWYG empty.
  • To add more rows to your table, scroll back up to the Table Rows group and select the Copy Group button to create a new row with the same information as you placed in the previous row. Update the content in this new row to reflect what you need in each cell.Cascade editor Copy Group button screenshot