How to create a Class in Teams
UNF is empowering faculty to create their own Microsoft Team for their course. By implementing School Data Sync, ITS is giving faculty flexibility to create a Team on the fly.
Membership will be based on the course roster in Banner, and the Team will not be created until the assigned instructor of the course begins this process.
How often is the student roster updated?
Daily at 1am
How long will the Team be active?
Teams will be archived one week after the semester ends.
Can I add/remove owners and students to the Team?
Yes, the assigned instructor is the owner of the team, and can add/remove owners and members at your discretion. If changes happen in the Banner system to the course, roster will only reflect those changes.
If a student adds or drops a course, will they be removed?
Yes, the daily run will act on those changes when updated in the system.
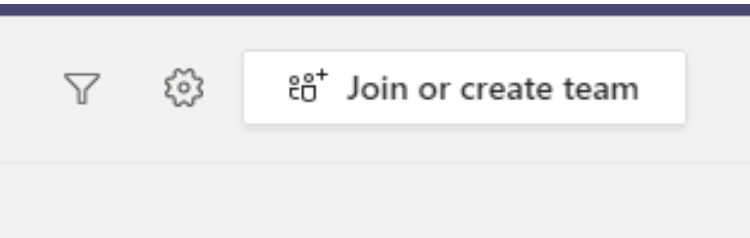
Step 1
Open Teams and select the button "Join or create team". This will navigate to the "Join or create a team" section.
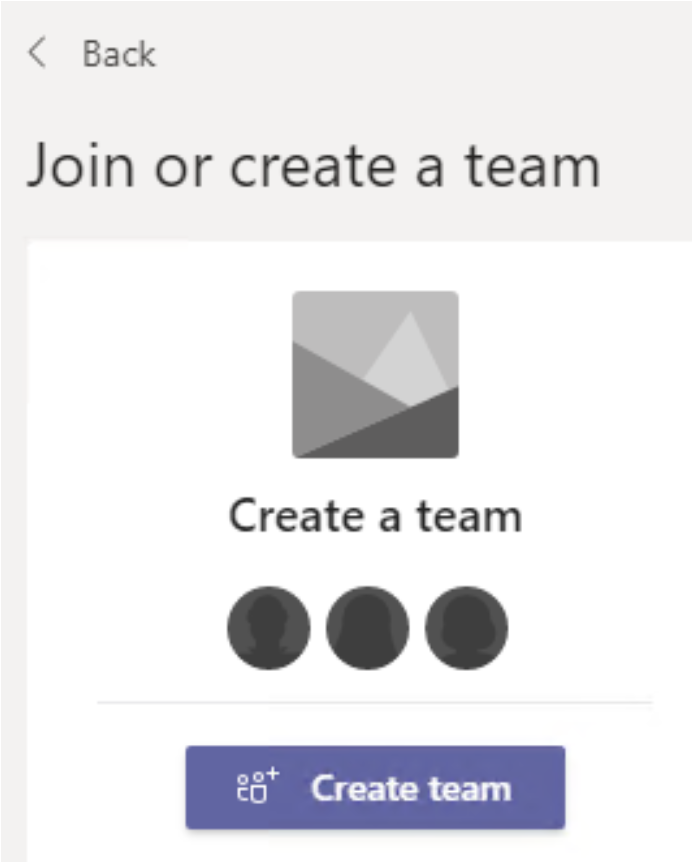
Step 2
Select “Create team”. This will open the “Select a team type” screen.
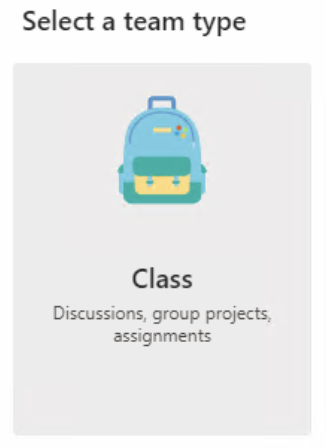
Step 3
Select “Class” for the team type. This will open the screen to determine the Team details.
Step 4
At the bottom, select the link “Create a team using a group set up by you or University of North Florida”. This will open a screen for course selection.

Step 5
Select the course you would like to create a Microsoft Team for and click “Choose group”. This will create a Microsoft Team that will have the listed title that notes the SUBJ_CODE-CRN-TERMCODE-TITLE.

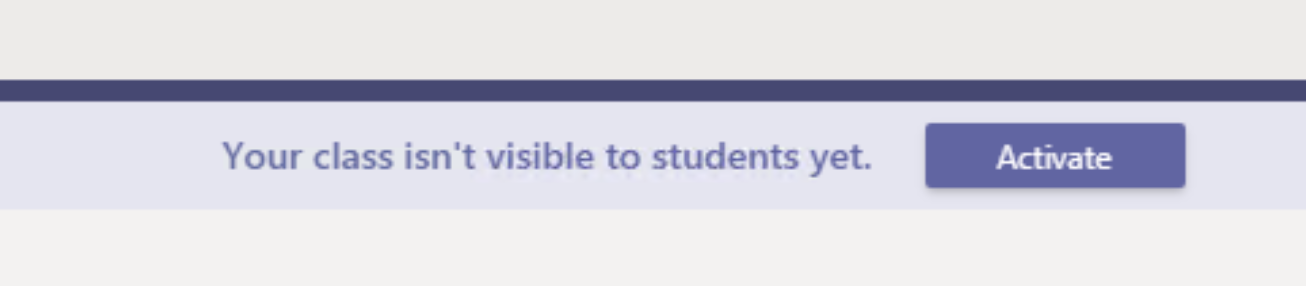
Step 6
At this point, the faculty is added to the course and not yet accessible to students. The faculty can begin to customize the Team before students are added. When the faculty member is ready for the students, clicking the “Activate” button will add students and be made visible.